Why rising water and sewer rates, resource constraints, and sustainability expectations are making water management a business priority.
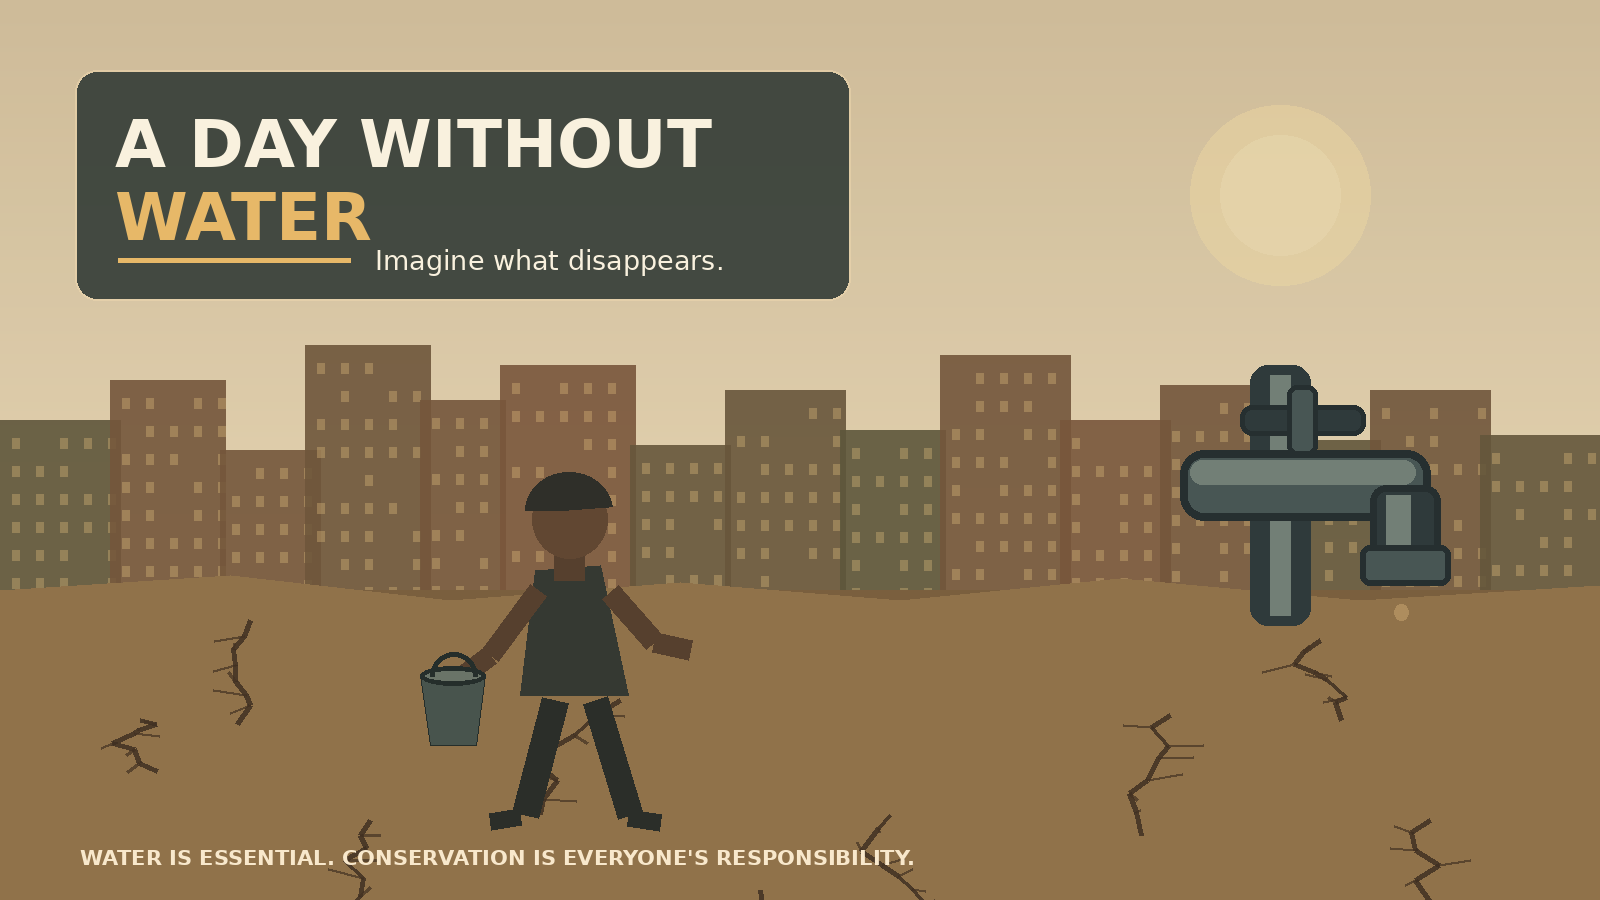
Water is becoming a more significant operating expense for businesses across the United States. According to Bluefield Research, water and sewer bills continue to rise as utilities face increasing infrastructure and operating costs. At the same time, drought, population growth, and competing demand are placing additional pressure on water supplies in many regions.
For businesses, these developments create challenges that extend well beyond monthly utility bills. Water availability can affect production schedules, facility operations, expansion plans, and long-term operating expenses.
Water efficiency is becoming a practical business strategy—one that can lower operating costs, reduce exposure to supply disruptions, and support long-term competitiveness.
Here are five reasons companies should make water management a priority.
1. Rising Water Rates Are Increasing Business Operating Costs
Water expenses involve more than the price of the water entering a building. Companies may also pay for wastewater services, water heating, pumping, treatment, and discharge. As utility rates increase, these combined expenses can put additional pressure on operating budgets.
The financial impact is particularly important for manufacturers, hotels, hospitals, food processing facilities, and other properties with substantial water demands.
Availability presents another challenge. Drought conditions, infrastructure problems, and local restrictions can disrupt normal operations or limit the ability of a business to expand.
What businesses can do: Evaluate total water-related expenses, identify high-consumption areas, and establish a baseline for measuring future savings. Managing water as a critical operating resource helps companies make better-informed decisions about costs and availability.
2. Water Conservation Can Improve Operating Efficiency and Profitability
Reducing water consumption can produce savings across several expense categories. Using less hot water, for example, may lower energy bills, while reduced wastewater volumes can help control sewer and treatment charges where fees are consumption-based.
The opportunities vary by industry, but they can be particularly meaningful for data centers, semiconductor manufacturers, hospitality businesses, and industrial facilities.
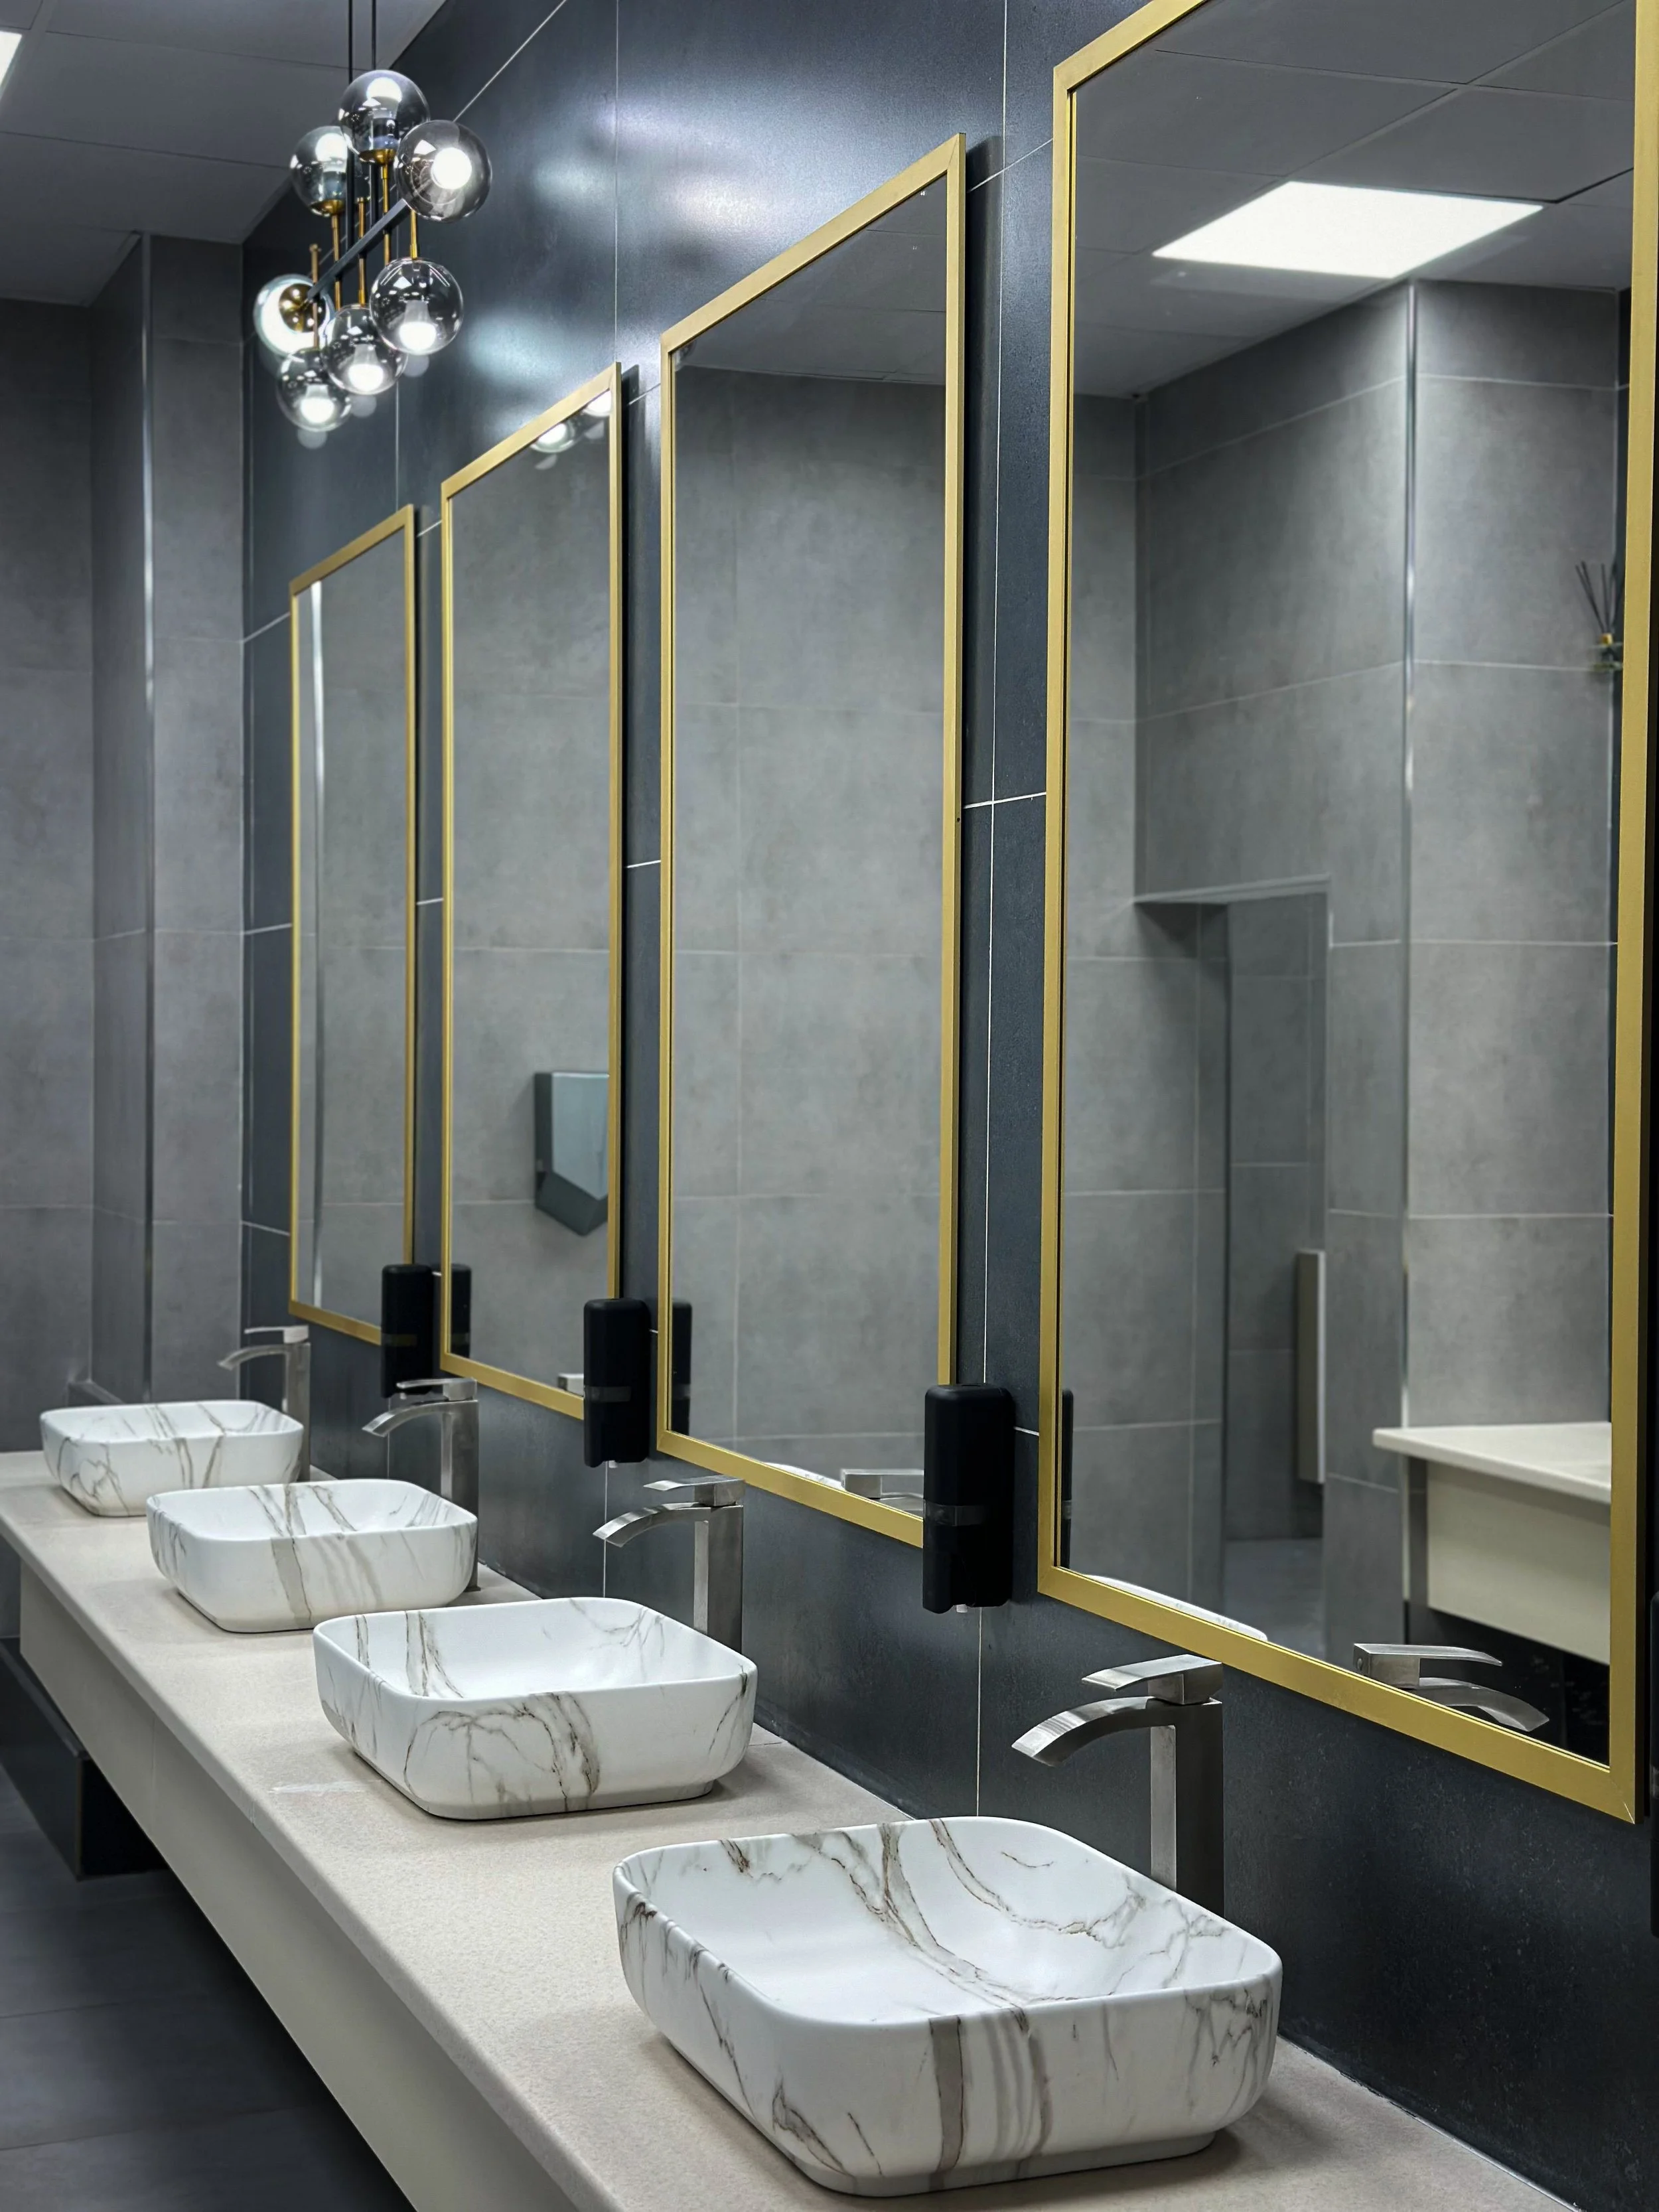
Water savings are not limited to production processes. Commercial restrooms, kitchens, cooling systems, landscaping, and cleaning operations can also offer opportunities to reduce consumption.
For businesses operating multiple buildings, even relatively small improvements at individual locations may deliver meaningful cumulative savings.
What businesses can do: Prioritize projects based on water consumption, total operating costs, installation expenses, and expected payback. Consider both major process improvements and practical upgrades that can be implemented across an existing property portfolio.
3. Water Management Is Becoming Part of Corporate Accountability
Customers, investors, and supply-chain partners increasingly expect companies to understand and manage their environmental impacts. Water use can be an important part of that evaluation, especially for businesses operating in water-stressed regions or supplying water-intensive industries.
CDP, formerly known as the Carbon Disclosure Project, provides a water security disclosure framework that organizations use to report and assess water-related risks and management practices.
Clear documentation can help businesses demonstrate progress, respond to customer questionnaires, and support environmental reporting. Conversely, limited visibility into water consumption may make it harder to demonstrate responsible resource management.
What businesses can do: Track water use, establish realistic reduction targets, and document results. Reliable performance data can help support sustainability reporting and provide customers and business partners with evidence of measurable improvements.
4. Water Availability Can Influence Expansion and Regulatory Compliance
Access to a reliable water supply is becoming an increasingly important consideration in business planning. Depending on the location and industry, companies may face drought restrictions, water-use reporting requirements, discharge regulations, or additional permitting conditions.
These issues can influence where businesses locate new facilities and whether existing operations can expand. Water-intensive developments, including data centers and semiconductor fabrication plants, must consider local water availability alongside electricity, infrastructure, labor, and transportation.
Companies that understand their water requirements before making major investments are better positioned to evaluate potential constraints and plan accordingly.
What businesses can do: Include water availability and regulatory requirements in facility planning, site selection, and capital investment decisions. Reducing water demand can help preserve operating flexibility as local conditions and requirements evolve.
5. Water Efficiency Builds Business Resilience and Demonstrates Results
Water conservation can help organizations prepare for higher utility costs, supply interruptions, and changing environmental requirements. It can also turn sustainability commitments into measurable operating improvements.
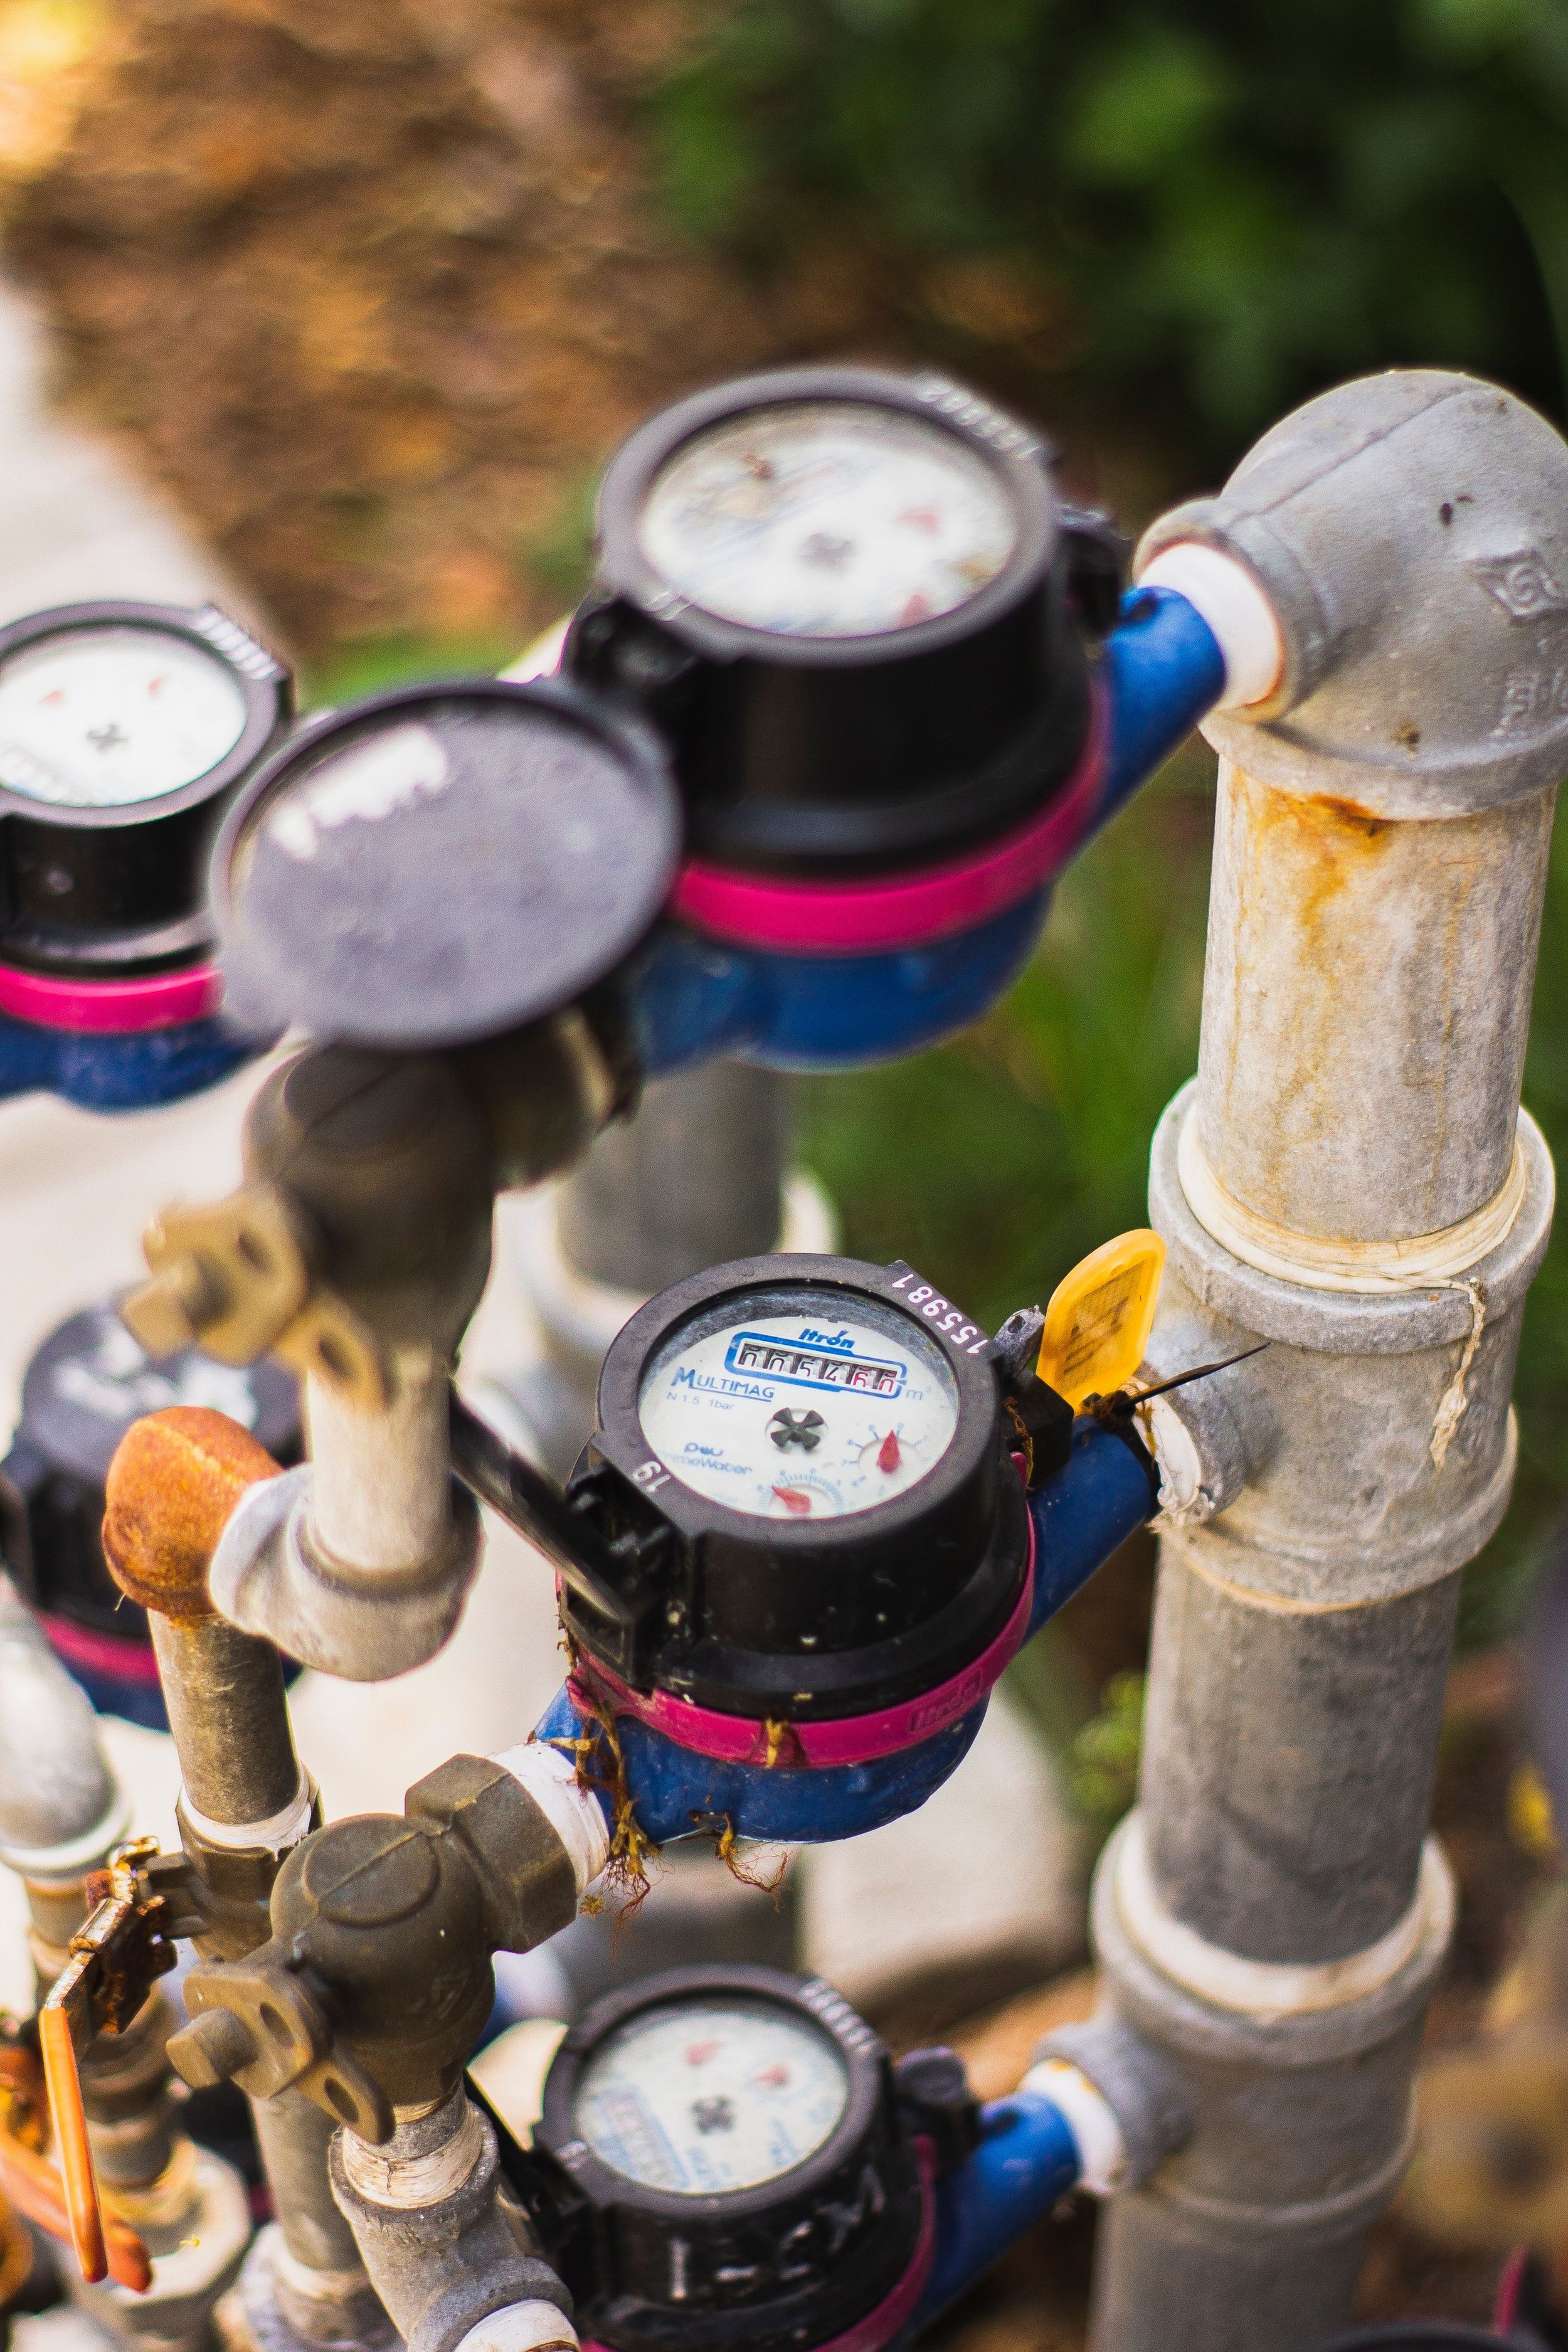
For companies with multiple locations, consistent monitoring can reveal unusual consumption patterns, identify inefficient equipment, and highlight successful practices that can be replicated elsewhere.
The ability to document lower water consumption and related cost savings is particularly valuable. Specific results provide a stronger foundation for internal decision-making and external sustainability communications than broad environmental statements alone.
What businesses can do: Incorporate water performance into regular facility reviews. Monitor consumption, compare results across locations, and reassess improvement opportunities as equipment, occupancy, and operating requirements change.
Practical Water-Saving Improvements Can Start in Commercial Restrooms
Improving water efficiency does not always require major capital projects or sophisticated technology. Everyday building systems can offer opportunities to reduce consumption, maintenance requirements, and operating expenses.
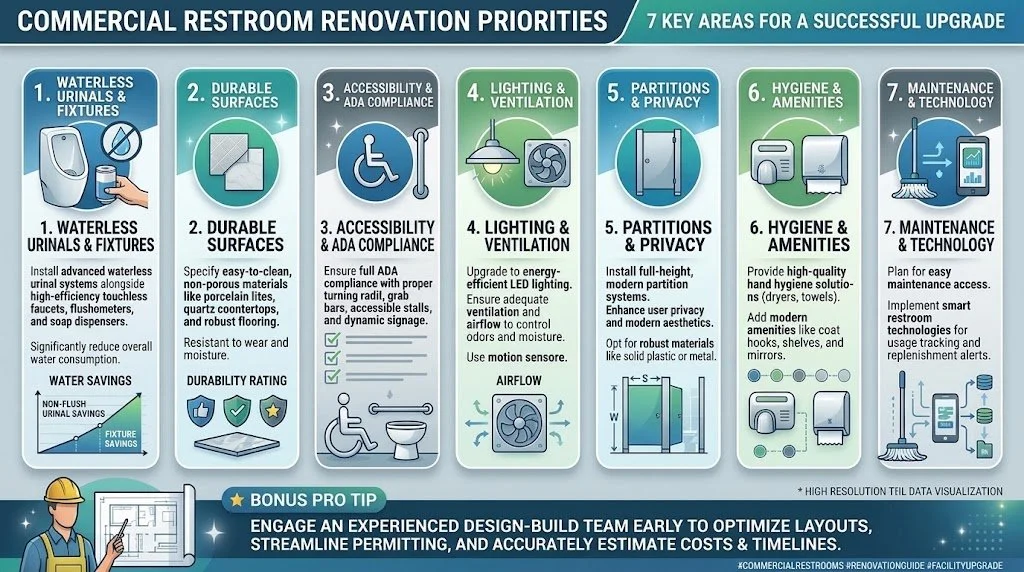
Commercial restrooms are one example. Conventional flush urinals use potable water with every flush and rely on flushing components such as valves, sensors, and associated plumbing. Waterless urinals eliminate flush-water consumption, removing the need for flush valves and sensors while reducing water and sewer expenses associated with flushing. (More on waterless urinals here: www.waterless.com).
For facilities with multiple restrooms or high daily occupancy, the cumulative savings may be substantial. Actual results depend on usage levels, local water and sewer rates, installation costs, and maintenance practices.
Other opportunities may include repairing leaks, upgrading inefficient fixtures, improving cooling-system management, and reviewing water-intensive cleaning procedures.
The most effective approach is to assess how water is used throughout a facility, calculate the full cost of that use, and prioritize improvements with measurable financial and operational benefits.
Make Water Efficiency Part of Your Business Strategy
Water conservation initiatives are sometimes evaluated primarily through their environmental benefits. A broader business case considers the complete picture: utility expenses, energy use, wastewater charges, operational continuity, regulatory exposure, and long-term competitiveness.
Facility managers can identify opportunities for improvement. Operations teams can evaluate the impact on daily performance. Finance departments can assess costs and potential returns. Leadership can then prioritize projects based on business needs and measurable outcomes.
The bottom line: Water efficiency is not simply an environmental initiative. It is an opportunity to manage operating expenses, strengthen facility performance, and prepare for an increasingly uncertain resource landscape.
The question for business leaders is no longer just how to use less water. It is how smarter water management can help their organizations operate more efficiently, remain resilient, and compete more effectively.